


It is annoying. You walk into a room and there it is. A wall sconce leaning like a drunkard at closing time. It ruins the fresh paint. It breaks the vibe of a carefully curated space.
With the holidays coming, you want “wow.” Not a crooked light fixture.
Most people rush. They grab the drill immediately. They ignore the prep work. This is how you end up with a lopsided lamp and a wall full of holes.
You do not need to be a pro. You just need to stop before you drill.
Why Crooked Lights Ruin the Aesthetic
We pick nice fixtures. We spend money. We care about the decor. But if the light is off-level, the whole room looks bad.
The human eye notices instantly.
A slight tilt creates subtle chaos. It feels unprofessional. It distracts from the cozy atmosphere you are trying to build for guests.
Why does this happen?
Usually, it is speed. We estimate with our eyes. We skip the level. We trust the template without checking. One small mistake leads to a crooked mount. Then you have to drill again. Or patch the wall. It is a waste of time and materials.
The Tool That Saves You
Stop guessing. Use a bubble level.
It is simple. It works. It has been around for decades. It is the only way to guarantee a straight line.
Here is how to use it correctly.
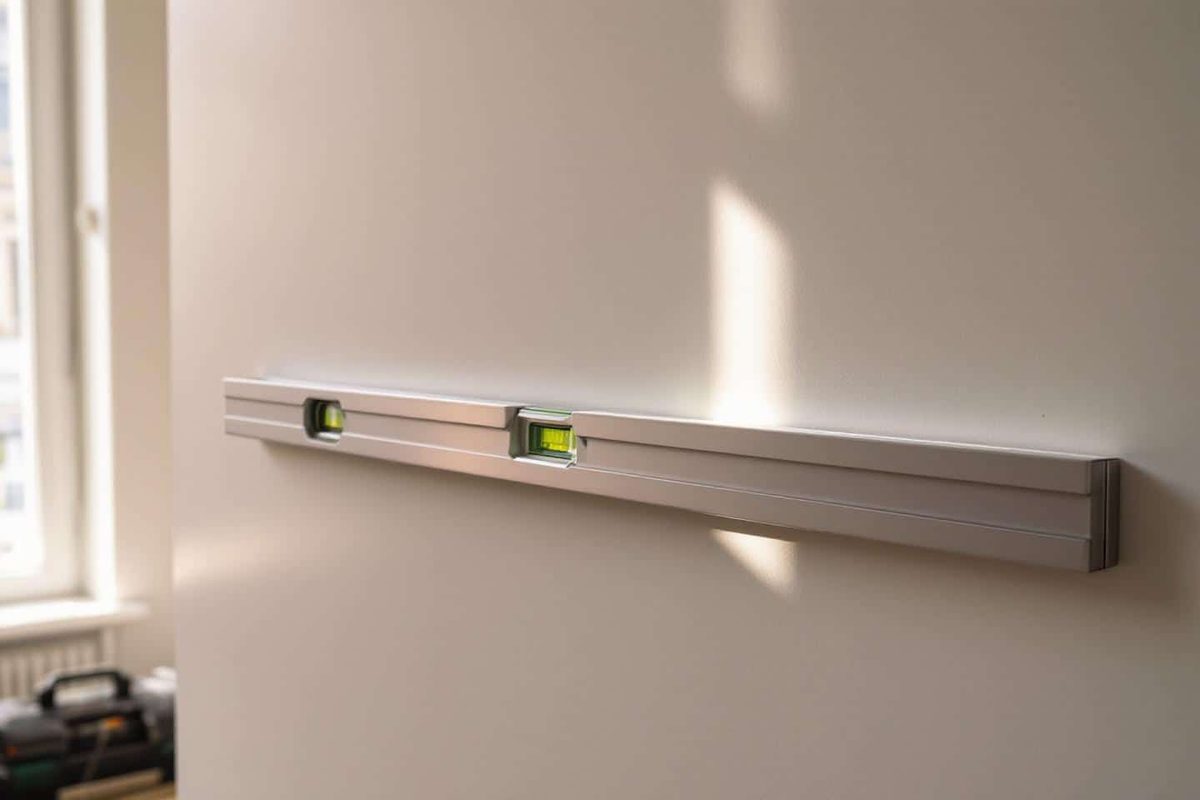
Place the level on the spot where the sconce will sit. Look at the bubble. Is it centered between the lines? If yes, you are good. If no, adjust.
You can use a standard level. Or buy a small one that sticks to the fixture. Magnetic levels work great on metal surfaces. Digital levels give precision if you are a perfectionist.
What if you are alone?
Use thick painter’s tape. Stick the sconce to the wall with it. Check the level. Mark the holes. Remove the tape. Now drill. The tape holds the light steady so you do not have to juggle it while trying to read a bubble.
Marking Holes Is The Key Step
Once the level says “straight,” mark the spots.
Do not skip this. This is the step everyone rushes.
Present the sconce against the wall. Use a fine pencil. Mark the exact center of the screw holes. Keep the pressure light. You do not want to gouge fresh paint.
Take the sconce off.
Check your marks again. Put the level on the wall marks. Are they aligned? Yes? Good.
Now you can drill.
If you skip this double-check, you risk misalignment. A small mark leads to a big error. It is better to mark small and adjust than to drill a huge hole and try to fix it later.
The Result: Professional Finish
This takes extra minutes. It is worth it.
When you drill straight, the fixture sits flush. The light shines evenly. The wall looks clean. No extra holes to patch.
It looks modern. It looks intentional.
Guests will notice the light. They will compliment the ambiance. They will not notice the crooked bracket.
The holidays are about warmth and light. Do not let a tilted lamp dim the effect.
Get a level. Mark your spots. Drill with care.
The result is a straight line. A perfect install. And a wall that looks like it came from a magazine.
Is it extra work? Yes. Is it necessary? Absolutely.
Now your lights will shine where they belong. On a straight line.