

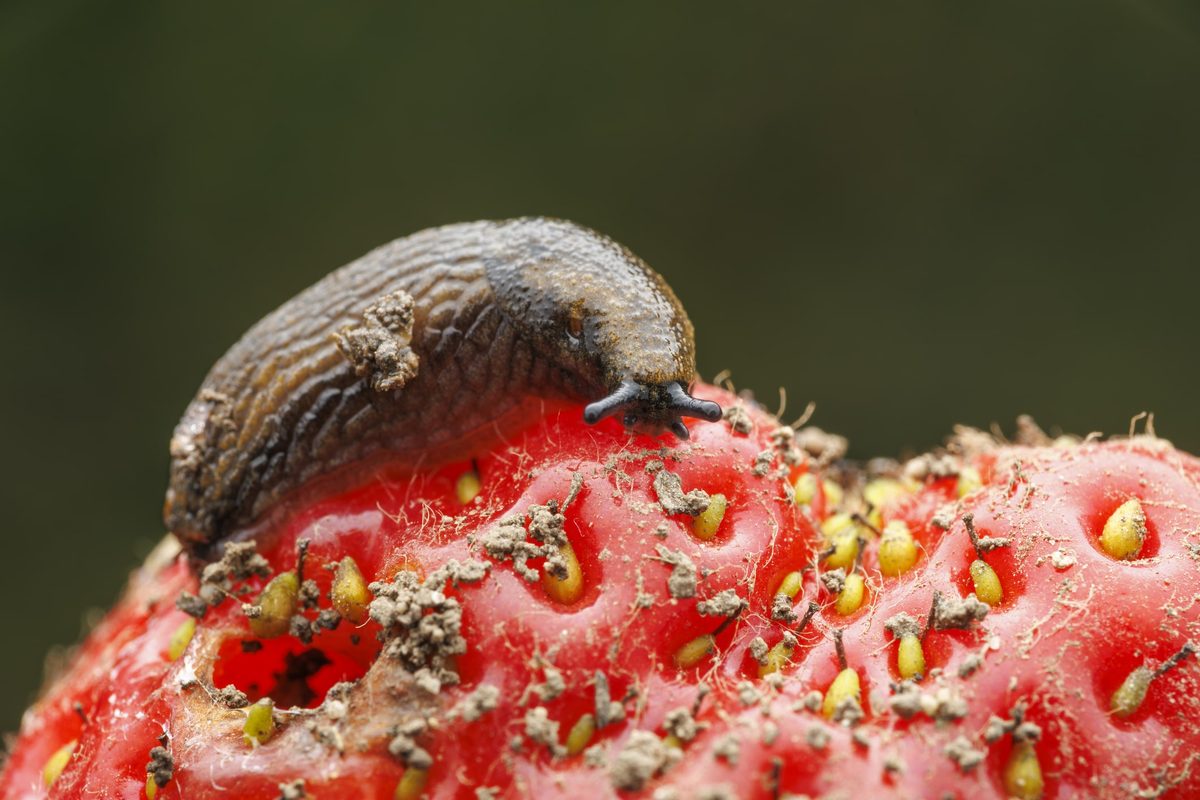
Spring and autumn are the worst seasons for gardening. The air is humid, the soil cold and infested with slugs. Salad, strawberries, zucchini and sprouts are served buffet style. The damage is visible in the morning. There are holes in the leaves. Slimy traces. Ruined harvests.
We know that slugs play an important role in the ecosystem. They break down organic matter. They feed the birds. But when they eat the seedlings, empathy takes a back seat. You want them to disappear.
There is a middle ground. No need for poison. No need for harsh chemicals that can harm bees or pollute the soil. You just have to be smart. The goal is not to eliminate them, but to repel or capture them.
One of the most effective DIY solutions is a homemade bottle trap. It is very cheap. It is reusable. it works.
The science behind the trap
Snails move at night. They hate light. They hate dry surfaces. They are attracted to strong smells, especially fermentation smells. Yeast produces carbon dioxide and alcohol during fermentation. The smell wafts through the air. Mimics rotten fruits and vegetables. To slugs, it smells like dinner.
Most commercial slug killers kill on contact. They leave the bodies behind. Some traps drown them. This feels messy to some people. The bottle trap method is different. It is based on attraction and containment. You’re not trying to kill them. You try to remove them from your precious plants and move them to a place where they will not cause harm.
What do you need?
No need to buy special equipment. Look around your recycling bin.
- Plastic bottles: 1.5 liter or 2 liter soda bottles are best. Clear or dark plastics are suitable.
- Knife or Scissors: Used to cut plastic. be careful. The edges may be sharp.
- Dirt or sand: To weigh down the trap.
- Beer: Any cheap old beer will do. If you want a non-alcoholic option, you can also use a mixture of water, sugar and yeast.
- Small shovel or trowel: To dig the hole.
Build it step by step
1. Cut the bottle
Bring a knife or scissors. Cut the bottle horizontally. Cut about a third from the top. This creates the top (funnel) and bottom (bowl).
Set the top aside. You’ll need this later.
2. Prepare the base
Dig a small hole in the ground. It should be slightly wider than the bottom of the bottle. Place the bottom section of the bottle into the hole. Make sure the rim of the bottle is level with the ground. This is important. If the bottle sticks out, slugs can walk over the rim. If it’s too deep, they cannot get in.
Fill the bottle with soil or sand. This stabilizes it. Prevents the trap from tipping over when you pour liquid into it.
3. Create a funnel
Remove the top (cone) of the bottle. Turn it over. Turn it upside down so that the narrow neck is pointing down towards the bottle.
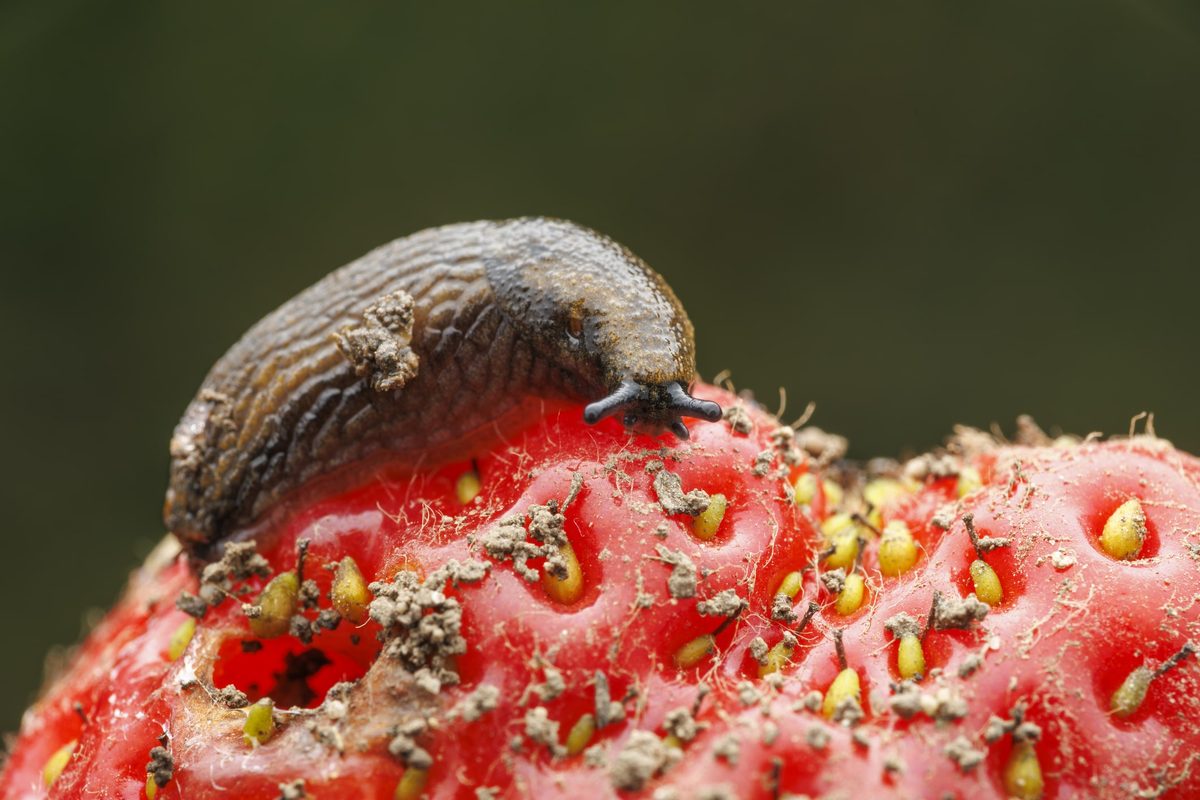
Chemical slug pellets may seem like a quick fix for hungry pests, but they come at a high environmental cost. Slugs are more than just garden villains. They are important decomposers, breaking down organic matter and providing food for natural enemies such as ground beetles, hedgehogs, birds and toads. The use of metaldehyde pellets and even certain ferric phosphate bioproducts can disrupt this delicate balance. It damages the very biodiversity you are trying to protect.
Physical barriers provide a better way. They keep the slugs out and protect animals in the soil. One of the most convenient and inexpensive methods is a plastic bottle slime trap. It’s simple and effective and keeps your garden alive.
The Concept Behind the Bottle Barrier
This method recycles empty plastic bottles to create a mini greenhouse or physical wall around sensitive plants. The structure prevents slugs from entering the leaves and traps heat and moisture around the roots. Mechanical protection that does not require chemicals.
You’re essentially building a moat and a greenhouse in one step. Snails cannot climb smooth vertical plastic. The microclimate activates the plants. Everyone wins except the gastropod.
Required materials
No need to go to the hardware store. Most of them are already in the recycling bin.
- Plastic bottles : 1.5 liter or 2 liter sizes are ideal for most garden plants. The transparent bottle allows you to monitor your moisture level.
- Cutting tool : Utility knife or strong scissors. Be careful with the blade.
- Attachments : If you want to secure the cut, use staples or strong tape.
- Warning agent (optional) : Sprinkle dry sand, crushed eggshells or wood ash around the base.
Build it step by step
1. Choose the appropriate bottle
A hard, clear bottle is ideal. Mineral water bottles are the best because they are durable and transparent. To inspect the plant, you must look inside.
2. Cut the Base
Remove the bottom of the bottle with a knife. Cut about 3-5 cm from the bottom upwards. Save this removed bottom piece. You can later use it as a small plate or plant stand.
3. Add ventilation (optional)
If you live in a humid climate or are concerned about mold, poke a few small holes in the side of the bottle. This promotes air circulation and prevents the accumulation of excess moisture, which snails love.
4. Install Barrier
Insert the neck of the bottle into the soil around the plant. Make sure you bury it a bit so the snails don’t crawl under it. Depending on the growth stage of the plant, it can be placed neck down (standard) or neck up. If the plant is tall, you may need to cut the top off later.
5. Add a deterrent layer
Create a ring of dry material around the bottom of the bottle for added security. Sand, wood ash or crushed eggshells work well. Snails hate walking on dry, rough surfaces. This turns a simple bottle into a terrifying obstacle course.
Why this method works better than you think
The biggest advantage is adaptability. These barriers can be used in vegetable gardens and decorative beds. They protect the most vulnerable seedlings. As the plant grows, you can remove the bottle or cut it higher to make more room for the stem.
The bottle also acts as wind protection and a barrier against other crawling insects. They have two purposes: physical protection and regulation of the microclimate. It doesn’t just kill pests. This creates an environment where plants can grow easily.
Tips for improving defenses
Bottle barriers are effective, but even better results can be achieved when combined with other methods.
- Encourage Predators : Leave wild corners in your garden. Wood piles and hedgehog houses naturally attract animals that eat snails.
- Water in the morning : Avoid watering in the evening. The moisture at night entices the snails to come out and feed. If you water in the morning, the soil surface will be dry by evening.
- Plant repellents : Plant plants such as garlic, mugwort and fennel near sensitive plants. Snails generally avoid these strongly scented herbs.
A solution for every gardener
This method requires no financial investment other than an empty plastic bottle. Perfect for small gardens, balconies and novice gardeners. It represents the shift away from eradication and toward coexistence.
For curious gardeners, it’s a small pleasure to be able to observe snails from a safe distance without worrying about the lettuce. Creating these barriers is a simple, economical and biodiversity-friendly act. Protect your crops without resorting to chemical violence or disturbing the balance of your garden.
By combining creativity, observation and common sense, you can turn your plot into a productive and space that is both productive and welcoming to life. The snails may retreat, but your garden will thrive.